Address
124 Tellico Port Rd, Vonore, TN 37885
Work Hours
- Monday – Friday: 8:00 AM – 5:00 PM
- Saturday: 9:00 AM – 3:00 PM
- (GMT-05:00) Eastern Standard Time
Address
124 Tellico Port Rd, Vonore, TN 37885
Work Hours
Address
124 Tellico Port Rd, Vonore, TN 37885
Work Hours
Address
124 Tellico Port Rd, Vonore, TN 37885
Work Hours
Plan a practical landscape trailer setup around your daily equipment retrieval order, clearance envelopes, and builder-verified securement points.
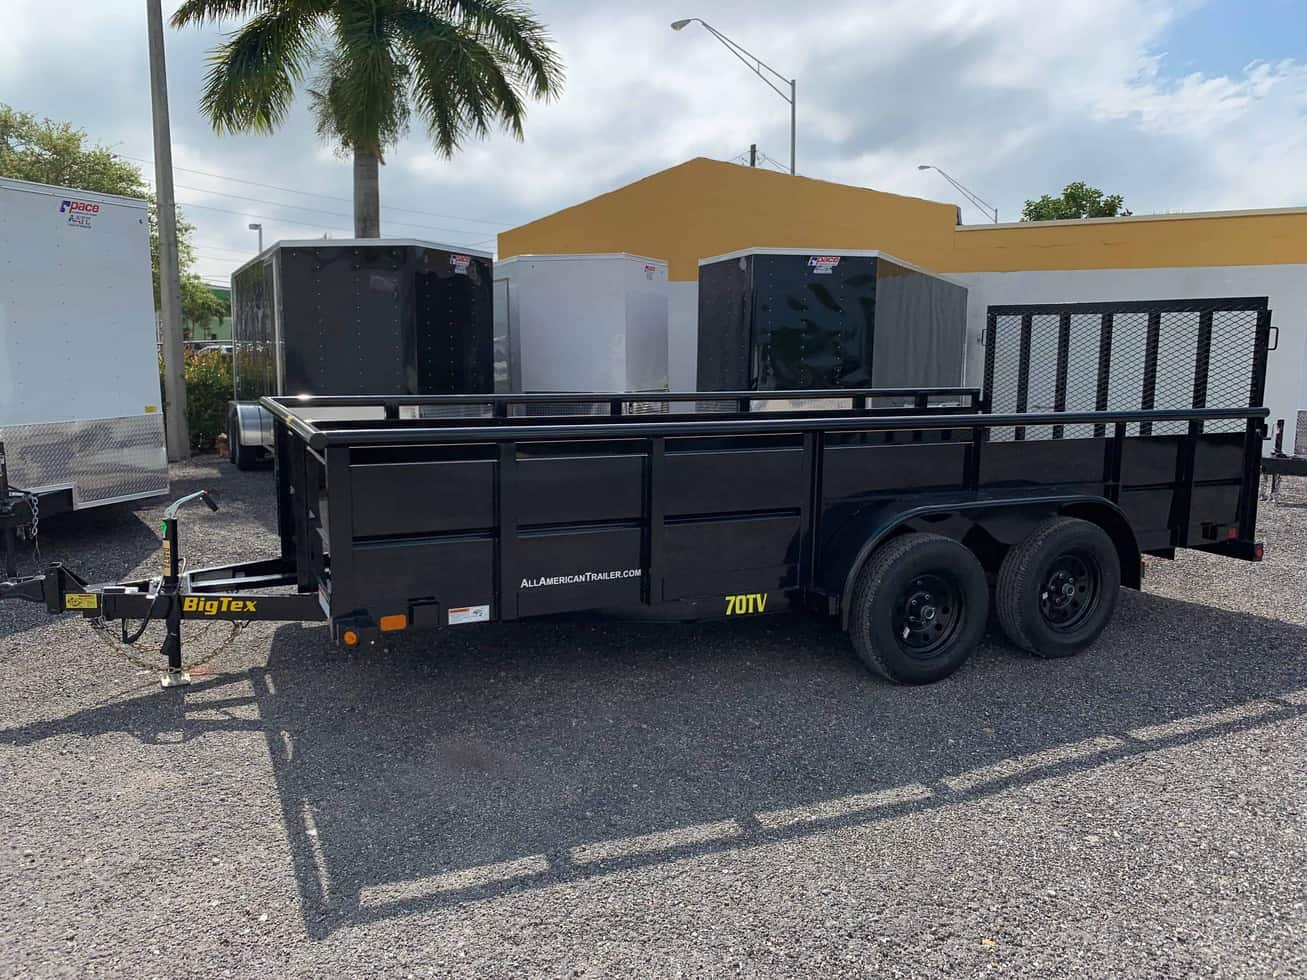
Quick Verdict: A practical landscape trailer setup begins by mapping how equipment leaves and enters the deck during everyday route stops, strictly within builder gross vehicle weight ratings and verified securement limits. Drafting your retrieval sequence, measuring dynamic clearance envelopes, and verifying rack mounting limits with the builder before purchasing attachments helps prevent daily workflow bottlenecks.
Picture a hypothetical morning arriving at a scheduled property: the workday begins, but accessing a needed trimmer rack requires reaching past an obstructing mower frame or squeezing along an awkward perimeter. When daily tools are boxed in by primary machines, crews lose rhythm at each stop. Evaluating your landscape trailer setup around practical retrieval order rather than raw open square footage helps turn open deck space into an organized working hauler.
Commercial hauling families address varied work demands; for instance, manufacturer reference catalogues demonstrate clear functional differences between standard utility haulers and specialized landscape models. However, an equipment line designation alone cannot tell you whether a particular combination of zero-turn mowers, handheld power equipment, and manual tools will load cleanly. Before choosing aftermarket racks or mounting gear on a landscape trailer, compare your daily stop routine against verified manufacturer build boundaries.
Manufacturer gross vehicle weight ratings, gross axle weight ratings, and tongue weight limits are mandatory physical parameters. Every piece of machinery must be balanced and lashed according to approved securement standards. After establishing those structural and weight limits, examine your route sequence to decide where each tool should travel.
Distinguish tools unloaded on every property stop from specialty gear used only intermittently. If handheld blowers and trimmers are deployed the second a truck parks, planning curb-accessible positioning prevents workers from scrambling over parked mowers. When planning an operational landscape trailer setup, organize the deck so routine gear can be unlatched quickly while keeping essential tie-downs and heavy equipment positions compliant with safe axle loading.
Equipment dimensions listed on a spec sheet rarely capture actual deck requirements. A commercial mower might have a compact chassis footprint on paper, yet extended discharge chutes, bagger attachments, or wide rear drive tires substantially increase necessary floor room. A thoughtful landscape trailer layout considers three distinct spatial envelopes for each machine:
Documenting these dimensions prevents space miscalculations between daily tools and occasional attachments. Because every tool must remain properly anchored, all gear placement must align with the verified load and securement plan for that specific landscape trailer build.
Before installing mounting brackets or settling on an equipment arrangement, draw your proposed landscape trailer setup on paper. Reviewing retrieval access on a simple sketch lets you evaluate whether crew members can reach daily tools comfortably without relying on awkward climbing maneuvers.
While maintaining a continuous front-to-rear center walkway may not always be feasible on narrow decks, your drawing should verify that every manufacturer-approved securement point for your specific load remains fully accessible. Treating this sketch as a workflow evaluation rather than an engineered blueprint ensures tie-down anchors can be properly inspected and tensioned before taking a landscape trailer onto public roads.
A common buying mistake is assuming that any utility side rail can handle cantilevered tool racks or high-capacity storage boxes. Rail tube gauges, angle-iron profiles, and ramp hinge assemblies vary widely across different landscape trailers.
Before buying accessories or drilling into structural components, contact the builder or dealer to address specific hardware questions:
Confirming these compatibility details helps you determine which accessories match the landscape trailer frame before committing funds or altering structural steel.
Use this practical worksheet to log equipment envelopes, frequency of use, and candidate storage methods that need confirmation from the equipment or trailer builder:
| Equipment Type | Estimated Envelope | Usage Frequency | Candidate Storage Option | Builder Detail to Confirm |
|---|---|---|---|---|
| Primary Commercial Mower | Length plus chute width and bagger | Every stop | Deck floor tie-down anchors | Ramp gate concentrated wheel-load limit |
| String Trimmers & Edgers | Shaft length plus vertical rack clearance | Every stop | Perimeter side rail rack | Side rail capacity for cantilevered rack loads |
| Backpack Blowers | Base depth, tube path, hanger height | Every stop | Side rail or bulkhead hook bracket | Approved railing clamp and attachment points |
| Hand Tools & Fuel Cans | Box exterior width and lid swing space | Occasional / periodic maintenance | Tongue-mounted box or bulkhead basket | Tongue weight rating and frame drilling limits |
Once you outline daily retrieval priorities and record equipment footprints, choosing an appropriate trailer platform becomes straightforward. You can compare available options across our open utility inventory to review deck lengths, rail styles, and frame options designed for commercial grounds maintenance.
If you are deciding between different axle ratings or payload limits for your equipment fleet, consult our single versus tandem axle comparison to evaluate suspension tradeoffs, stability, and ongoing maintenance demands. When you are ready to confirm exact deck dimensions, gate ratings, or available inventory, contact our team to discuss your requirements and build an efficient, route-ready landscape trailer setup.